It's way easier to add a note to the guides than to redo all the images,
etc. We have more important things to spend our time on, but if someone
wants to redo them, you are very welcome!

Signed-off-by: Sheogorath <sheogorath@shivering-isles.com>
2.1 KiB
Minio Guide for CodiMD
Note: This guide was written before the renaming. Just replace HackMD with CodiMD in your mind 😄 thanks!
-
First of all you need to setup Minio itself.
Please refer to the official Minio docs for an production setup.
For checking it out and development purposes a non-persistent setup is enough:
docker run --name test-minio --rm -d -p 9000:9000 minio/minio server /dataPlease notice this is not for productive use as all your data gets lost when you stop this container
-
Next step is to get the credentials form the container:
docker logs test-minio -
Open http://localhost:9000 and login with the shown credentials.
-
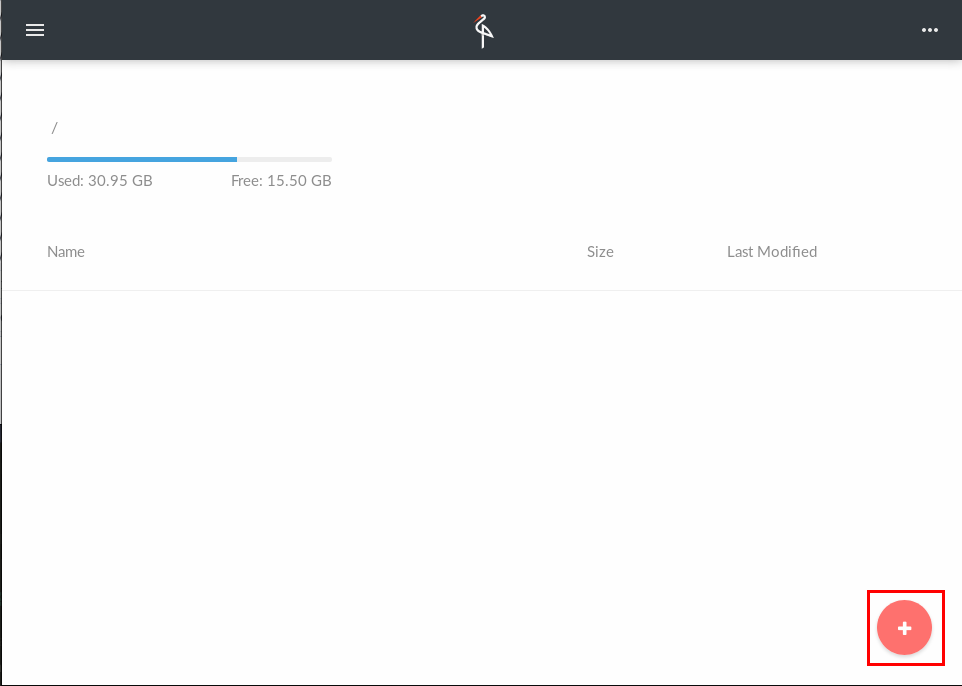
Create a bucket for HackMD
-
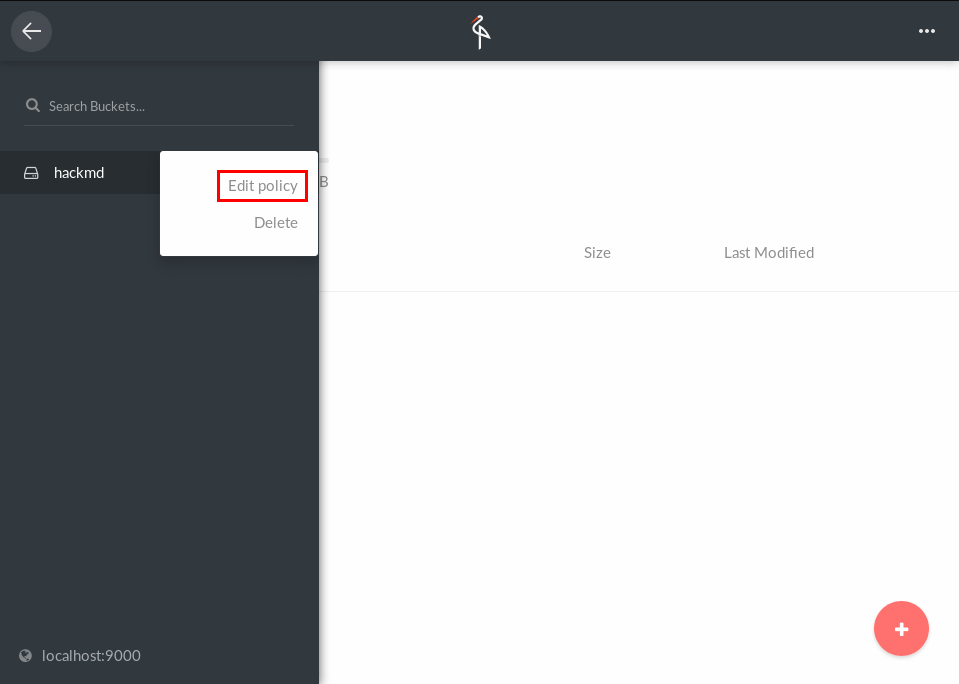
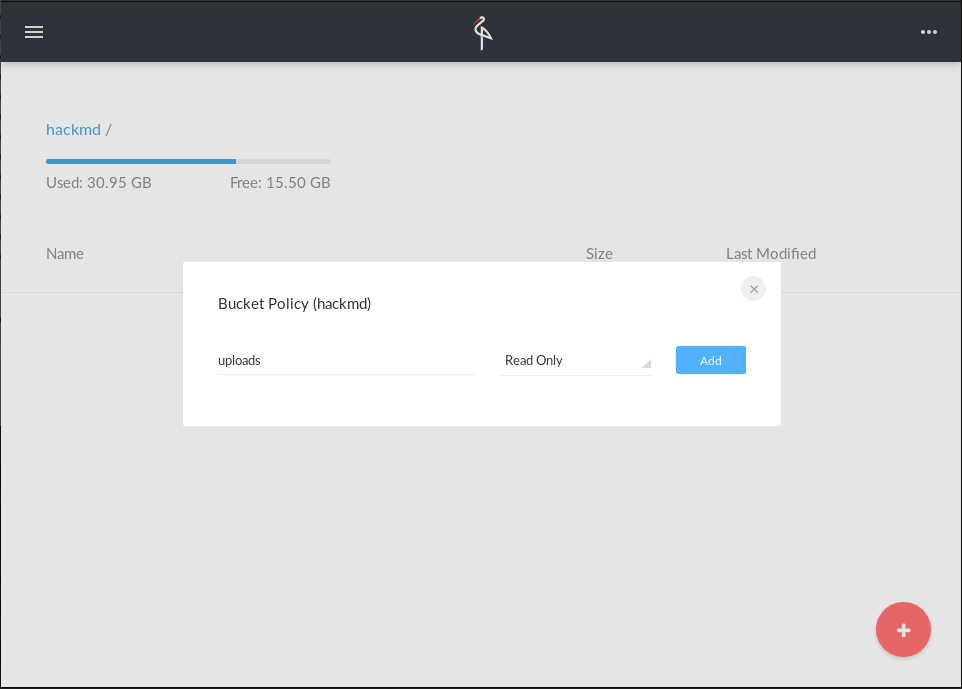
Add a policy for the prefix
uploadsand make it read-only. -
Set credentials and configs for Minio in HackMD's
config.json"minio": { "accessKey": "888MXJ7EP4XXXXXXXXX", "secretKey": "yQS2EbM1Y6IJrp/1BUKWq2/XXXXXXXXXXXXXXX", "endPoint": "localhost", "port": 9000, "secure": false }You have to use different values for
endpointandportfor a production setup. Keep in mind theendpoint-address has to be public accessible from your browser. -
Set bucket name
"s3bucket": "hackmd" -
Set upload type.
"imageuploadtype": "minio" -
Review your config.
{
  // all your other config…
  "minio": {
    "accessKey": "888MXJ7EP4XXXXXXXXX",
    "secretKey": "yQS2EbM1Y6IJrp/1BUKWq2/XXXXXXXXXXXXXXX",
    "endPoint": "localhost",
    "port": 9000,
    "secure": false
  },
  "s3bucket": "hackmd",
  "imageuploadtype": "minio"
}


