3.1 KiB
| title | permalink | layout |
|---|---|---|
| My USB drive is broken! Plz helppppp :( | /broken_usb/ | page |
 {:width="49%"}
 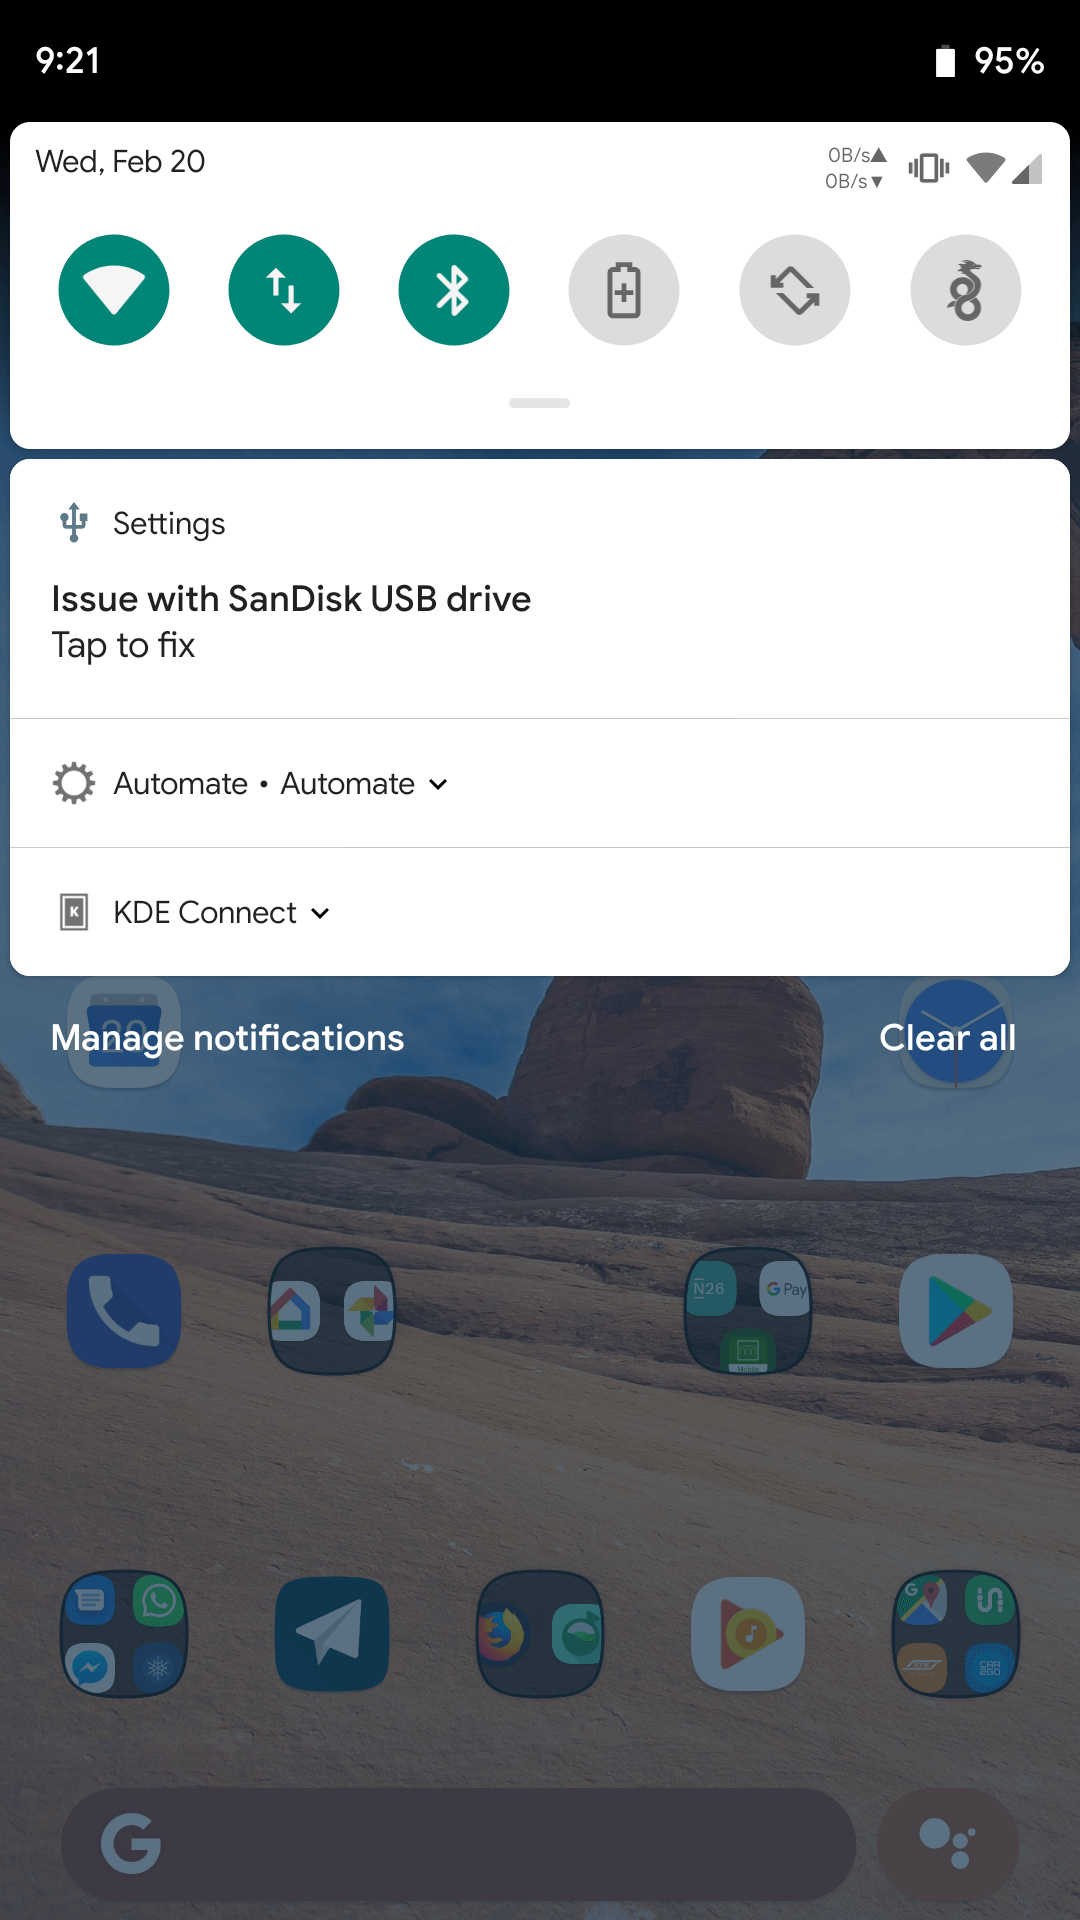 {:width="49%"}
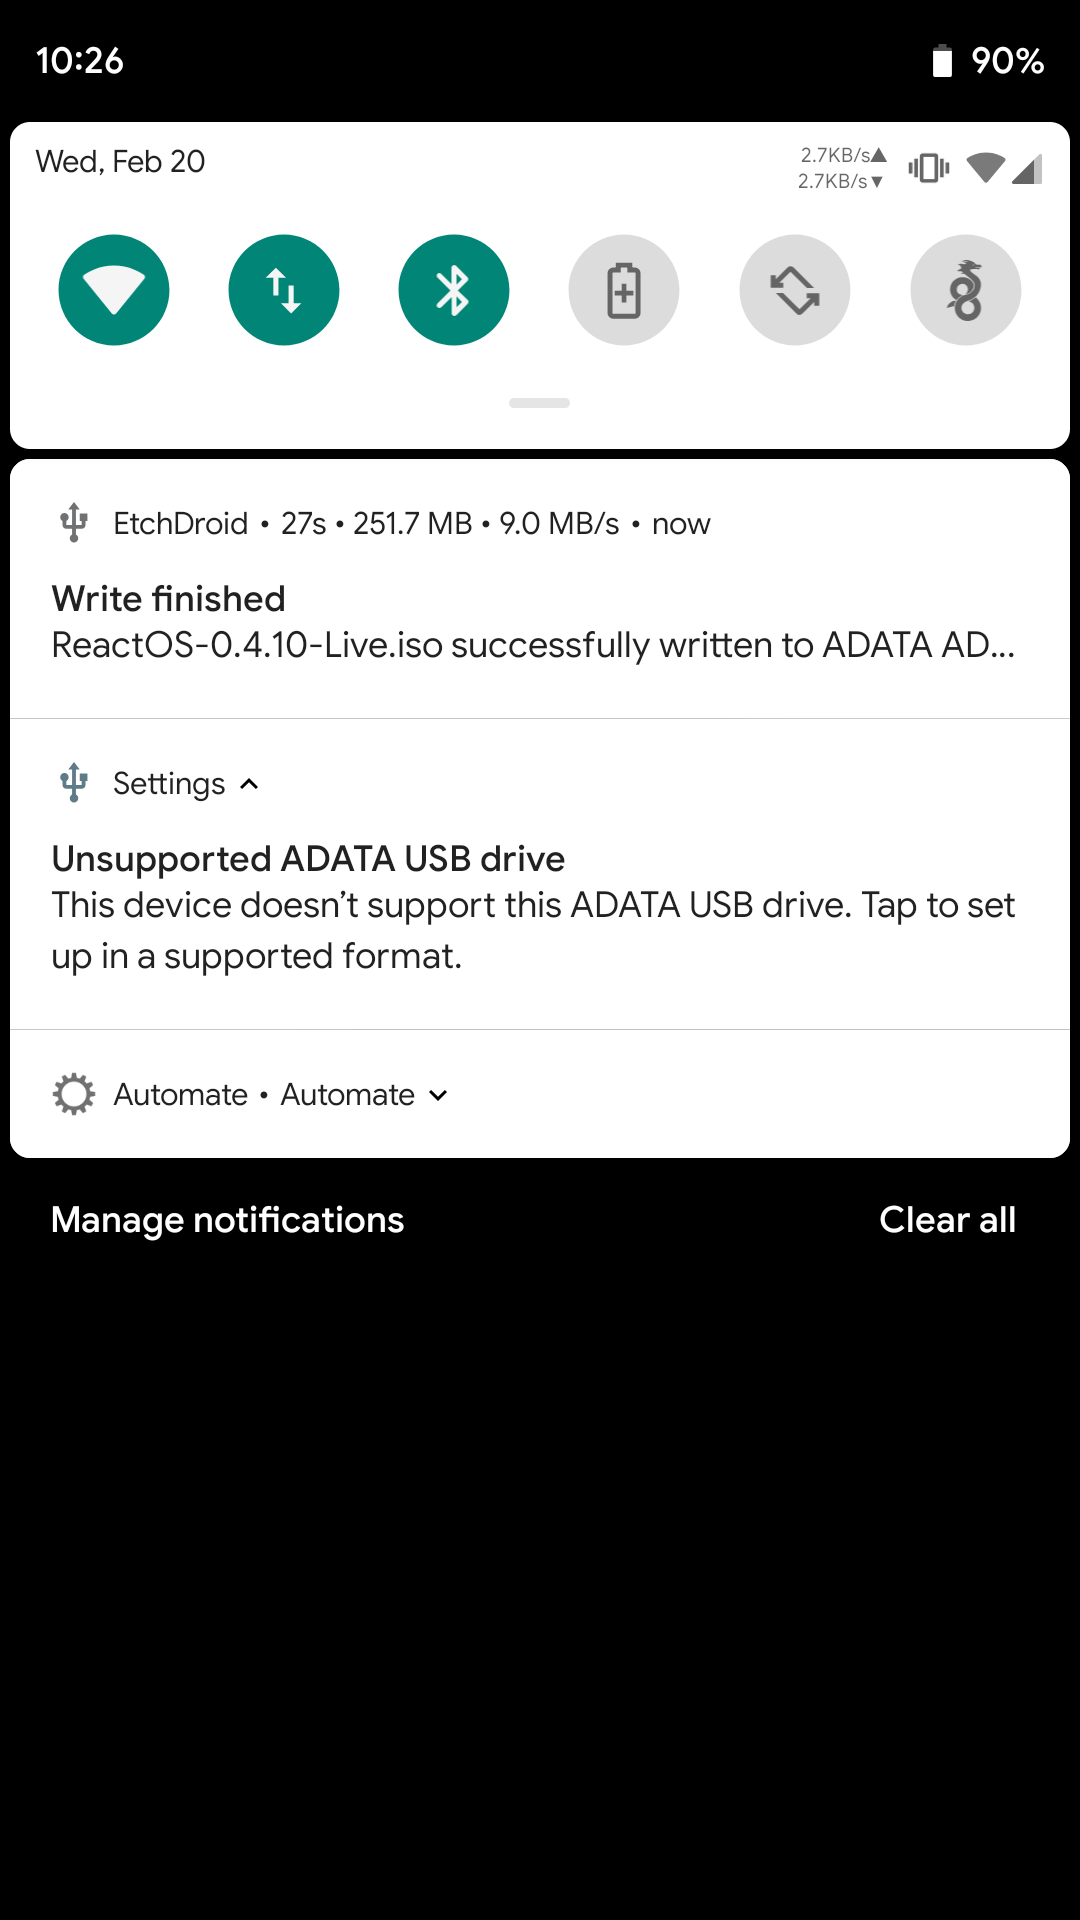
If you just flashed your USB drive and you see one of the notifications above, your USB drive IS NOT BROKEN.
There is litterally no way EtchDroid can break your USB drive.
What does that message actually mean
Most images you'll want to flash with EtchDroid will have a somewhat weird format. For example, take an Ubuntu image: that image is specifically made to boot both from a USB drive and a DVD.
This means that the resulting USB drive's file system will be marked as read-only.
Android complains about it because it expects a writable file system. Not finding any, one of these errors will show up telling you how to format it.
Simply unplug the USB drive and plug it into a computer. If the image you provided is valid and EtchDroid was able to write it, it should work just fine.
How to format the USB drive
Once you're done with the image you've written you may want to format it with a regular file system. This will allow you to use the USB drive to store regular files once again.
On Android
- Close EtchDroid, plug your USB drive.
- Tap the "Unsupported USB Drive" or "Issues with USB drive" notification.
If it does not show up:
- Open Settings
- Find "Storage"
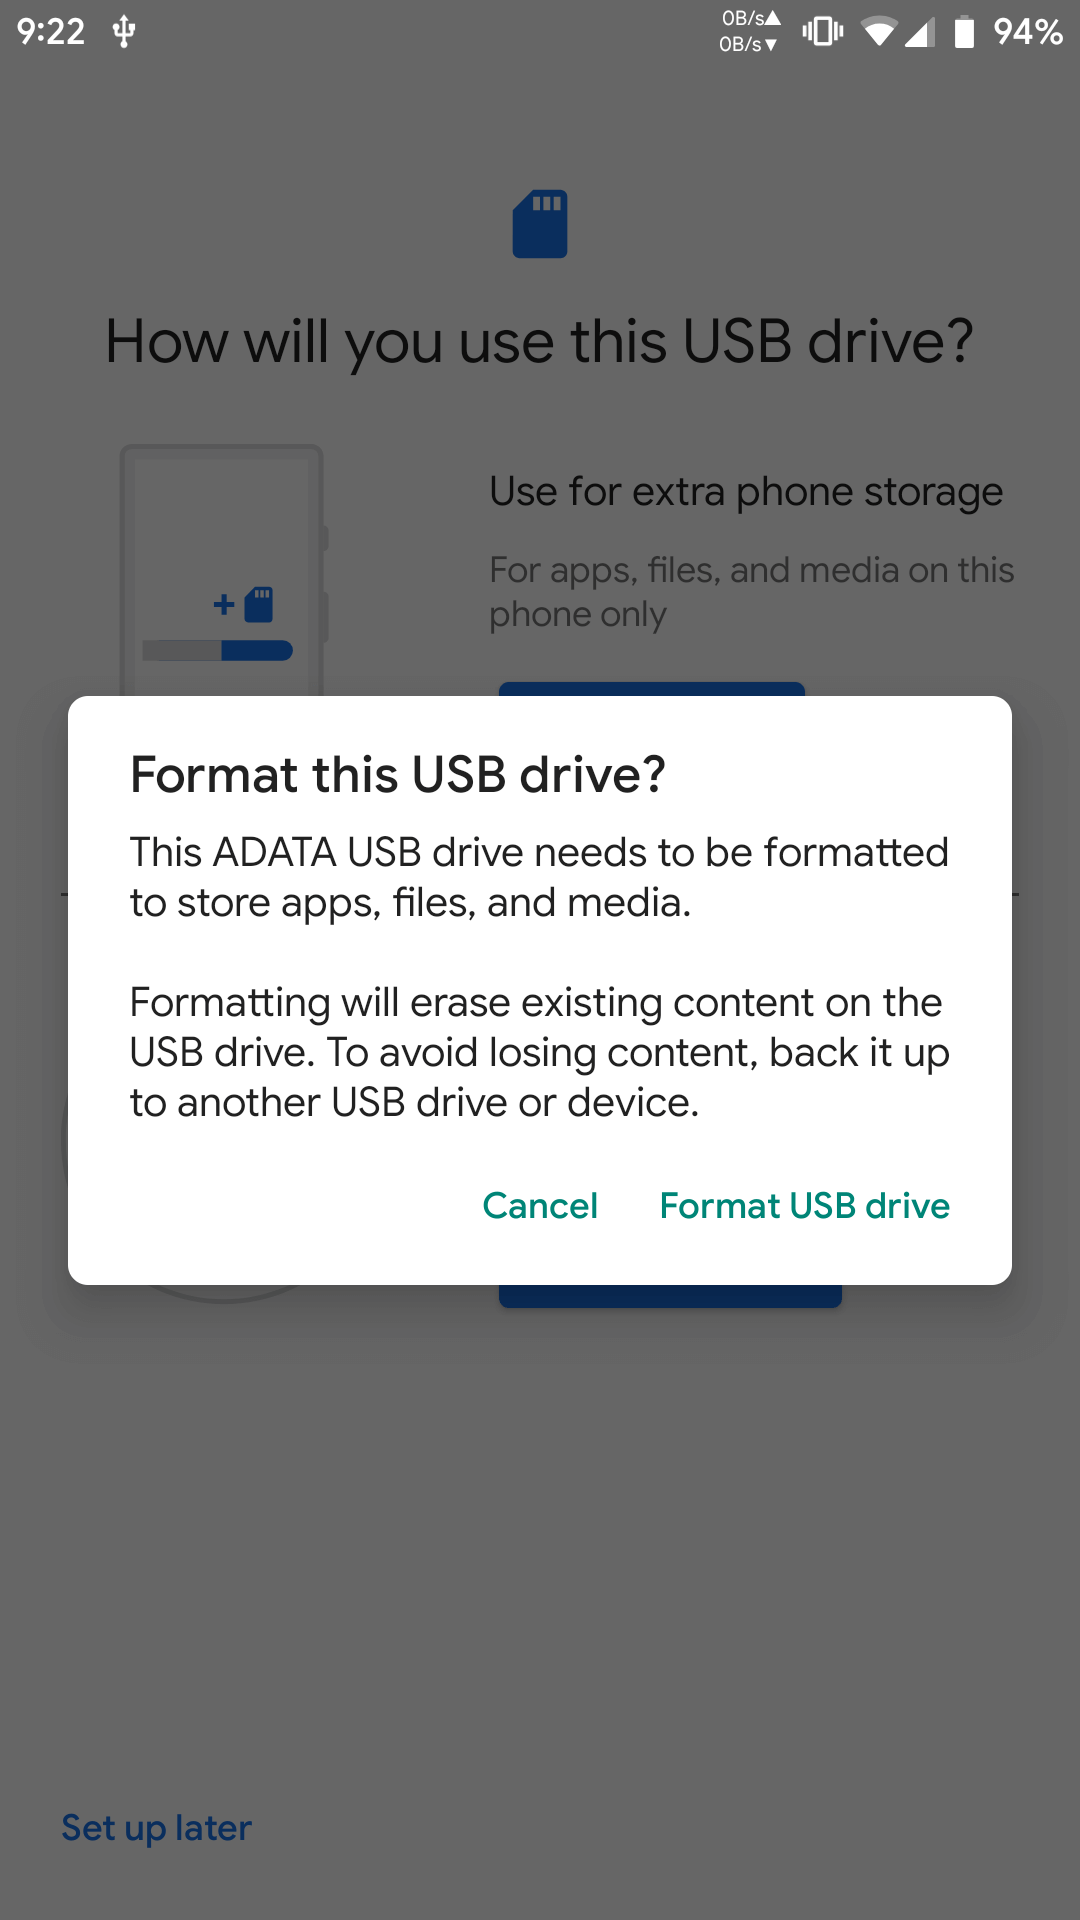
- Tap the name of the USB drive
- If the file explorer opens, tap the menu button, "Storage settings", "Format"
- Tap "Format USB drive"
Remember to eject the USB drive from settings before unplugging it.
 {:width="300px"}
On Ubuntu
This should work for regular Ubuntu with GNOME or Unity and with other GNU/Linux distributions with GNOME. If you have a different desktop environment, please refer to your distribution's documentation.
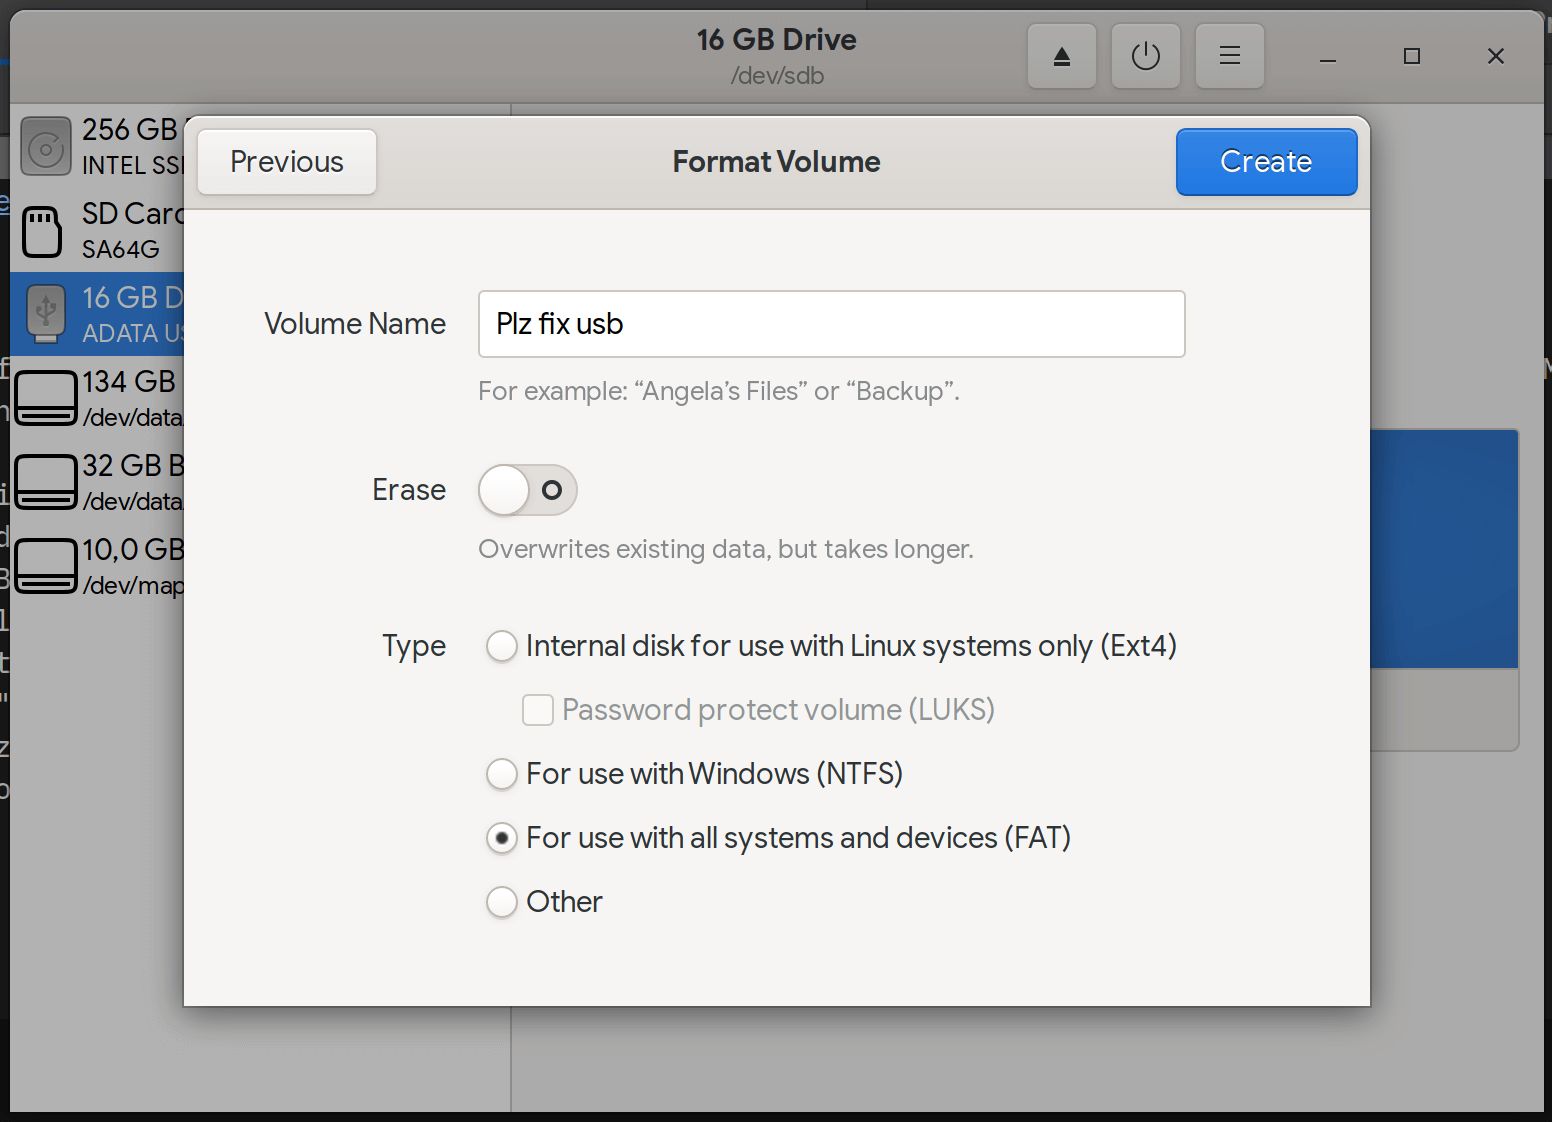
- Open the Activities dashboard
- Type "disk" and open "Disks" or "Disk Utility"
- Select your USB drive from the left sidebar
- From the overflow menu on the upper right, select "Format Disk..."
- Use default settings, then confirm
- Under "Volumes", select "Free space", then click the "+" button
- Use maximum size, then go to the next page
- Enter a name for your USB drive, under type select "For use with all systems and device"
- Click "Create" and confirm
 {:width="100%"}
On macOS
Note: I don't use macOS so instructions below may not be accurate.
- Open the Disk utility
- Select your USB drive
- There should be an "Erase drive" button somewhere
- You should find an option to format it with a "FAT" file system
or
You can use "SD Memory Formatter" (even though you're not using an SD card, it will work on a USB drive too):
https://www.sdcard.org/downloads/formatter_4/
On Windows
Use "SD Memory Formatter" (even though you're not using an SD card, it will work on a USB drive too):
https://www.sdcard.org/downloads/formatter_4/
